|
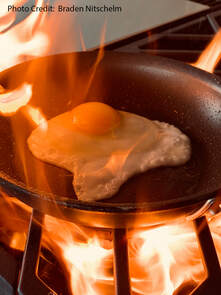
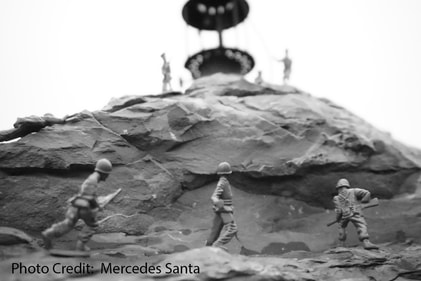
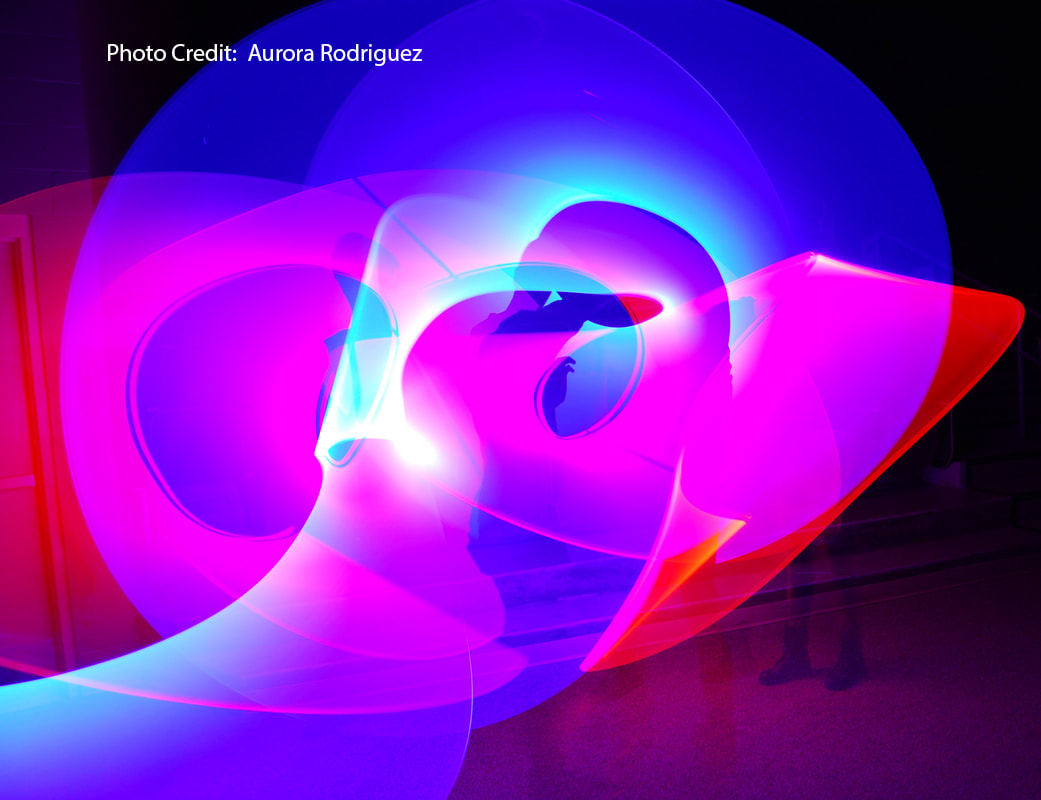
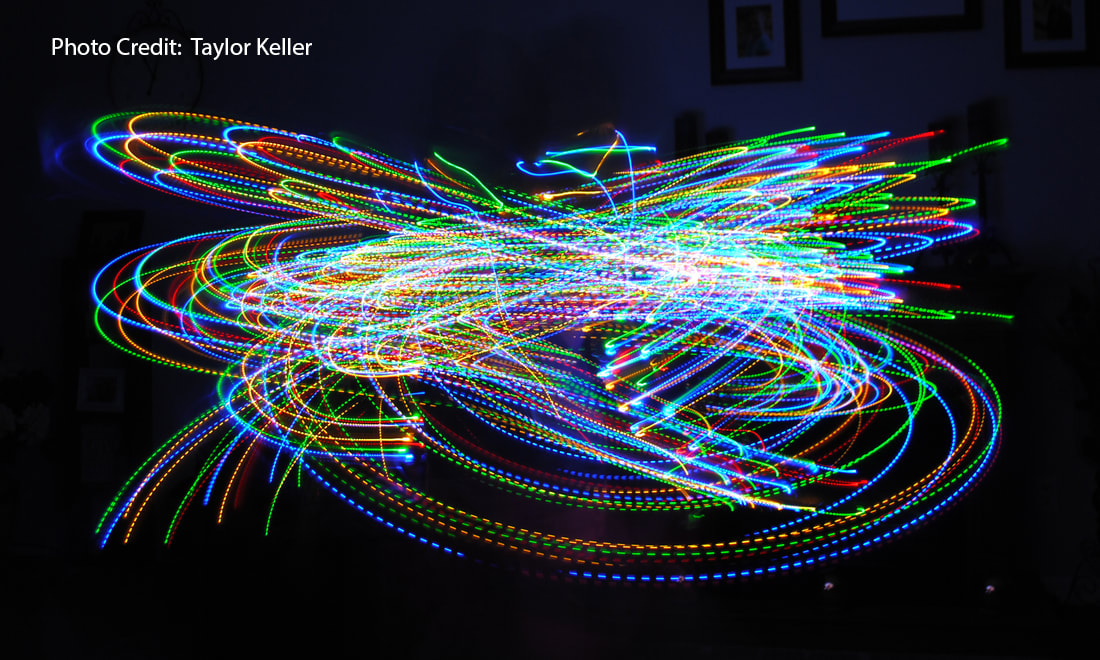
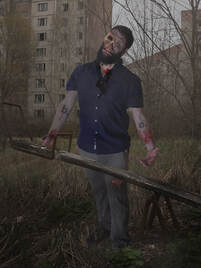
Photography Assignments All projects must be uploaded to your student website in order to be considered complete and ready for grading. 1. VIP (Very Important Photos) What makes a photo good? Perfect lighting, perfect composition? Perfect subject matter? Expensive gear? Or are good photos a complex combination of factors? While “important” is a subjective term, there are definitely right and wrong approaches to this project. Submitting memes, Pokemons, or screen shots from your favorite video game is not a formula for success. Though we love them, this is not the time or the place for those things. Here are ten different categories of photos. For EACH of the 10 categories below, submit the following: -The photo itself -Photo Credit. List the name of the photographer who took the photo. If at all possible, also including a date (just the year it was taken is good enough). -A few sentences or a paragraph describing why you think that photo is the best of its category. BE PREPARED TO HAVE AN IN-CLASS DISCUSSION ABOUT WHAT MAKES YOUR SELECTION A "GOOD" PHOTOGRAPH. Categories of Photos: 1. Action/Sports 2. Landscape 3. Current events/news 4. Politics 5. Historical Event 6. Day-in-the-Life/ Personal 7. Travel 8. Fashion/product/brand marketing 9. Wildlife or (domestic) animal photography 10. Portrait 2. The Egg Project: Anthony Bourdain once said that any chef worth his salt knows at least fifty different ways to cook an egg... The goal of this assignment is to demonstrate that each of has a unique voice that is capable of taking mundane, everyday objects and putting a fresh spin on it. Take a creative photo of an egg. Show how you can be unique or different. Turn in your best photo. (You may upload more than one image if you want.) 3. Miniature Worlds This is a great exploration of scale and proportion. Using toys and your school environment, re-imagine the furniture, architecture, and objects to arrange and build new and creative scenes. Experiment with varying depths of field to throw backgrounds out of focus, adding to your illusion. Great examples can be found at this school's website. Credit and props to Phyllis Burstein! Japanese artist Tatsuya Tanaka has made a whole career out of doing this. Check his work out here. And here. Want to take this to the next level? Start adding special effects like Matthew Callahan does in his Galactic Warfighters series! (Video) Upload your best image. (More images is OK but not expected.) 4. Elements of Art and Principles of Design Take a photo that illustrates EACH of the Elements of Art (Line, Shape, Value, Form, Space, Color, Texture) and each of the Principles of Design (Unity, Rhythm, Pattern, Movement, Emphasis, Contrast, Balance). Make a page on your portfolio site to display each of the Elements and Principles with a short paragraph about how each photo demonstrates each Element or Principle. Links: Elements of Art intro and in-depth. Principles of Design intro and in-depth. 5. Pinhole Photography: Build a pinhole camera and take at least one good, successful picture of it. I define success in this case as an image that is an interesting composition of an interesting subject and it is correctly exposed and the main focal point of the image is in sharp focus. After developing your image, photograph or scan it into a digital image. Clean it up (crop it, heal or clone stamp out any unwanted spots that need fixing, adjust brightness and contrast to optimize it) and invert it to turn it from a negative into a positive. Want to go deeper? Check out Abelardo Morell's pinhole work here. Or dig this sweet, sweet book. Upload three items: 1- A picture of your best negative (straight pinhole photo, no edits or modifications), 2- an analog positive made in the darkroom using the previously mentioned negative, and 3- a positive made and edited in photoshop using the same negative. 6. Aperture (f-stop) and Depth of Field (DOF): Use aperture adjustments to control your depth of field. Aperture is expressed in a unit of measurement called an "F-stop." An F-stop is the ratio of the diameter of the aperture compared to the focal length, which is the distance between the lens and the camera's sensor (or film). So a smaller F-stop number means a larger aperture hole. Larger apertures result in narrow depth of field. Depth of field grows as F-stop numbers increase. You can also manipulate your depth of field by manipulating your focal length. See the video in 'Resources' for more info. Take four sets of three images images at wide, medium, and narrow Depth of Fields. Present these 12 images on your site as a series of sequences like this: Image 1: Narrow DOF-->Medium DOF-->Wide DOF Image 2: Narrow DOF-->Medium DOF-->Wide DOF Image 3: Narrow DOF-->Medium DOF-->Wide DOF Image 4: Narrow DOF-->Medium DOF-->Wide DOF Label each image with a caption that describes which F-stop setting you used for that shot. 7. Shutter Speed and Panning: Learn to control your camera's shutter speed manually and make necessary adjustments to maintain good exposure (faster shutter speed = less light so you need wider aperture or higher ISO or both. Slower shutter speed = more light so you need a smaller aperture or lower ISO or both.) Take three panning images of three different subjects at three different shutter speeds- fast, medium, slow. A slow shutter speed = about 1/10th to 1/50th of a second. A medium shutter speed = about 1/80th to 1/160th of a second. A fast shutter speed = 1/300th of a second or faster. Present these 12 images in 4 series on your site as a series of sequences like this: Series 1: 1 image Slow--> 1 image Med--> 1 image Fast Series 2: 1 image Slow--> 1 image Med--> 1 image Fast Series 3: 1 image Slow--> 1 image Med--> 1 image Fast Series 4: 1 image Slow--> 1 image Med--> 1 image Fast Remember to label the shutter speed of each shot. 8. Controlling Light (Portrait Lighting) Watch the light segment of Fundamentals of Photography, studying the angles Joel Sartore discusses. Then take six pictures using each style of portrait lighting- Front, Side (hatchet), Above (interrogation), Below (ghost), Behind (silhouette), and Rembrandt. Make a page on your portfolio site called 'Portrait Lighting' and make a little gallery that shows your best shot of each style of lighting. Look for correct exposure and edit each photo, cropping them with a consistent aspect ratio. For example, if you crop one photo square, make all of the photos in your gallery square. If you crop to a 4:3 aspect ratio, maintain 4:3 throughout your gallery. Your cropping decisions should be made with the goal of maximizing good compositional choices! 9. Light Painting Experiment with ISO, long exposures, movement, and artificial light in a dark environment in order to create a light painting. "Pop" flash on people to briefly expose them and freeze them in the frame or spell words or draw pictures in space using a flashlight or glow sticks. Have fun, play with it. When you post your image or images, include a paragraph write-up describing how you created it, including describing your camera settings. (There are several ways to view image metadata to retrieve camera setting information. On a Mac in Finder, Command-I will pull up image info. Or in Photoshop, File>File Info is another way.) The project requirement is only three good images, but if you got more than three good shots, feel free to post more on your portfolio site. Since this was a collaborative group project, attribution (credit) works like this- if you arranged or composed or planned the shot, it counts as "yours" even if you are not the subject of the photo. Light painting isn't new. Picasso was doing it in the late 1940's. Take a look at his approach here. Here is a great light painting tutorial. Hopefully it inspires you to combine multiple different elements into your light painting designs. Here are links to the Google Drive folders that contains your pictures: 2023 Sem. 2 10. Natural Light Landscape Start by watching this: How to Take a Horrible Landscape Photographs. Choose an interesting outdoor scene or subject. Photograph the same shot at five different times of day- before sunrise, shortly after sunrise, noon-ish, shortly before sunset, and shortly after sunset. As you take these five shots, you should not change the composition of the picture in any way. Do not change your camera's angle, zoom, or focus once those settings are established. But DO expect to change exposure settings. Camera settings: Working in full manual ("M" on your camera's dial) set your aperture from mid to high... An f/11-f/16 aperture is fine. This gives you a wide DOF. Manually focus on an object about 1/3 to 1/2 way between yourself and the most distant object in the picture plane. Look for sharp, crisp lines in branches or grasses. Make light adjustments using your shutter speed and/or ISO. I would probably bring my ISO as high as 1000-1600 in the low-light times (pre-dawn, just after sunset.) I'd bring it as low as 200 at high noon. Once your aperture and ISO are set, play with the time variable. Experiment with different shutter speeds until you have a nice exposure-- not too dark, not too bright. I strongly encourage you to check out a tripod to use for this project. If the tripod is in a secure location, you can leave it there (do NOT leave the camera on it if you do this!) If it's not in a secure location, you can mark the ground and place the feet in the same place each time you take your photos. Using a tripod will make lining up your scene each time much easier. Setting your camera on a chair, a table, a windowsill, or other flat surface might work as well. But don't try to do this project hand-held; you won't be able to maintain the exact same composition throughout your series of shots. 11. Photoshop: Defying Gravity Combine two source photos to create the illusion of floating or hovering somewhere. This works best if you take both photos at the same place and the same time so lighting conditions are the same in both images. Here's a link to the rundown. Be creative. Have fun. 12. Product Photography Using direct and reflected light to create separation between an object and its background, photograph a white object on a white background and a black object on a black background. No harsh shadows! Here's a tutorial on W&W and one for B&B. Once you've achieved a nice result, try getting creative with it. What happens when you play with different colors of light, or place objects on an illuminated tracing table? Experiment with it! 13. Photoshop: Zombie effect! This assignment is big enough it deserves is own page. See it here. 14. Self Image: Selfies with meaning! Photographers can use all sorts of tricks--creative content, unique camera angles, clever lighting, compositional framing techniques, Photoshop effects, composite imagery etc. to "spin" an image and give it a new or different meaning. With each image, ask yourself: "What specific thing about myself am I communicating to my audience?" (It may also be worth asking: "WHO is my audience?" Make 3 Self Image photographs: -One showing how you conform -One showing how you express your individuality -One "selfie" that you're not in (I'll guide you through the taxonomy photo for this one). Of these three photos, least one of them needs to be a composite image, combining multiple pictures into one. Check out this slideshow for examples and discuss. Also related: This taxonomy photography project. 15. Automation Station Learn to use and write scripts to make Photoshop do stuff for you automatically. Instructions are here. On your portfolio page, post a minimum of one great panorama made through photomerge and one slideshow of at least ten images that you batch-edited with a script you wrote. 16. Fine Art Forgery Find a non-photograph artwork you love here. Do your best re-creation of the scene that you can, using only your own reference images. (No using other people's content you found on the web.) You may photoshop separate pieces together, but they need to be from images you shot yourself. Post your work with the following: The original artwork, a paragraph about the artist and the image, your interpretation of the original piece, and an explanation of how you created your interpretation. Here are a bunch of examples of past student work! 17. Jilted Juxtapositions Explore the work of Turkish art photographer Ugur Gallenkus. Think in terms of elements of art and principles of design. Line (and alignment), shape, space, form, color are being used to create contrast, balance, pattern, unity, all while showing conceptual contrast (war vs. peace). Create your own jilted juxtapositions. They don't have to be conceptually heavy or thematically deep. They can be just for fun. What I want you to focus on is creating continuity between two contrasting images by taking advantage of similar line, shape, color, etc. Make three finished composite images that combine at least two source photos each. Please use only your own photography for this assignment-- no googling source images off the intertubes. 18. Free Choice Use one of the techniques outlined here. Write up a paragraph describing why you chose that technique, how you applied it, and at least three new things you learned in your explorations. 19. Activities Document at least one event (this could be any sports event, play, speech/debate meet, school dance, homecoming parade, academic activity, anything exciting or noteworthy) and submit it to the yearbook via the server folder. Turn in 5 FINISHED photos. Finished means sorted, cropped, edited, labeled with names, dates, and locations. Include a Google Doc or a Word document with captions for each photograph. Captions should be one to three sentences long. Here's a link to your turn-in folder. |
Click here to see the Youtube video this .gif was pulled from in its entirety.


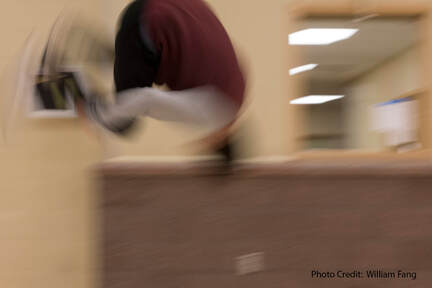
Defying Gravity Photo by Maggie Waatti
Unconventional Selfie by ALEXIS REINER
|